
Building TensorFlow 2.2 on an old PC
Introduction
I don't change computers often. The fun for me is to make the most out of sparse resources. Linux fits nicely into this philosophy, because it can be adapted to run on really tiny computers (e.g. http://www.picotux.com/), as well as huge supercomputers (https://itsfoss.com/linux-runs-top-supercomputers/). I do like to keep up with new tech developments. And with the commoditization of deep learning in the form of Keras, I felt it was about time that I finally jumped on the Deep Learning bandwagon.
And the nice thing about lagging behind: The choice for deep learning is now extremely simple. I need Keras with TensorFlow as a computational backend. Which nowadays means installing TensorFlow since the Keras API has been incorporated into the TensorFlow project.
TensorFlow and AVX
Then I ran into a problem: TensorFlow is all about FAST computation. And therefore it tries to exploit all hardware features that speed up computation. One obvious way to do so is utilizing specialized hardware such as GPU's and TPU's to do the number crunching. But even for CPU's, TensorFlow likes to make use of all the computational features that modern CPU's offer. One of these is the "Advanced Vector Instruction Set" , aka AVX. As most CPU's from 2011 or later support AVX, the TensorFlow folks decided to only make binaries available that require a CPU with AVX. Bummer for me: as my CPU is from 2010, I needed to compile TensorFlow myself.
But come to think of it: What better rite of passage into the Deep Learning AI age is to compile TensorFlow from source on your own machine??? (Opening music of Space Odyssey 2001 in the background)
Building TensorFlow on a really old computer
I followed the tutorial from TensorFlow to build from source on a Linux system (Ubuntu 18.04 LTS). Therefore, these notes are most useful to other Linux users, and my future self of course.
Roughly this consisted of:
- Creating a virtual environment for Python 3.6.9
- Checking my GCC version (7.5.0, which is greater than 7.3 that is used for the official TF packages)
- Clone the TensorFlow repository from GitHub
- Git checkout the latest official TensorFlow release (v2.2)
- Installed the latest release of Bazel (Google's Make program), version 3.1. Then install exactly the right version needed for TF2.2 (2.0.0, as specified by MIN_BAZEL_VERSION in
tensorflow/configure.py, use.baselversionto easily install multiple bazel versions side by side)
Then came the hard part, the final step:
- Tweak Bazel arguments endlessly to reduce resource usage to be able to complete the build process succesfully
In the end, I removed the -c opt, so no special optimization for my CPU. And asked for one CPU (I have two cores :-), one job, and max 2GB of RAM usage.
cd tf_build_env/
source bin/activate
cd ~/Github/tensorflow/
bazel build --config=opt --local_ram_resources=2048 --local_cpu_resources=HOST_CPUS-1 --jobs=1
  //tensorflow/tools/pip_package:build_pip_package
I ran the build process in a terminal on the Ubuntu 18.04 Desktop, without any other programs loaded. My 2010 PC has in total 4 GB of RAM. As the Ubuntu Desktop + OS consumes about 1-1.5 GB on my system, this leaves about 2.5-3.0 GB for bazel. Now as it turns out, according to htop memory consumption went up to 3.6 GB (of my 3.9GB max), but it succeeded in the end. This was after 10 hours of compiling! (I let it run overnight)
The final step was to turn the compiled TensorFlow into a Python Wheel package ready to install using pip.
./bazel-bin/tensorflow/tools/pip_package/build_pip_package /tmp/tensorflow_pkg
# creates a 'wheel' file called tensorflow-2.2.0-cp36-cp36m-linux_x86_64.whl
To try it out, I created a new empty Python 3 virtual environment with only TensorFlow and Jupyter Notebook installed. To my delight it ran the Fashion MNIST classification with Keras example flawlessly.
And even on my ancient PC performance was quite good, training the model took around 1 minute. So, after glorious succes in Python, it was time to move on to R.
Keras in R with the classic MNIST
I had to install the development version of the R package keras from GitHub to fix a bug that prevented Keras in R from working with TF v2.2.
From the release notes: (https://github.com/rstudio/keras/blob/master/NEWS.md)
Fixed issue regarding the KerasMetricsCallback with TF v2.2 (#1020)
devtools::install_github("rstudio/keras")For my first deep learning in R, I followed the tutorial from https://tensorflow.rstudio.com/tutorials/beginners/
First load all the required packages.
library(tensorflow)

use_virtualenv("~/venvs/keras_env", required = TRUE)
# this was the same environment that I tested TensorFlow with Python

library(keras)
Read in the dataset.
mnist <- dataset_mnist()Rescale pixel values to be between 0 and 1.
mnist$train$x <- mnist$train$x/255
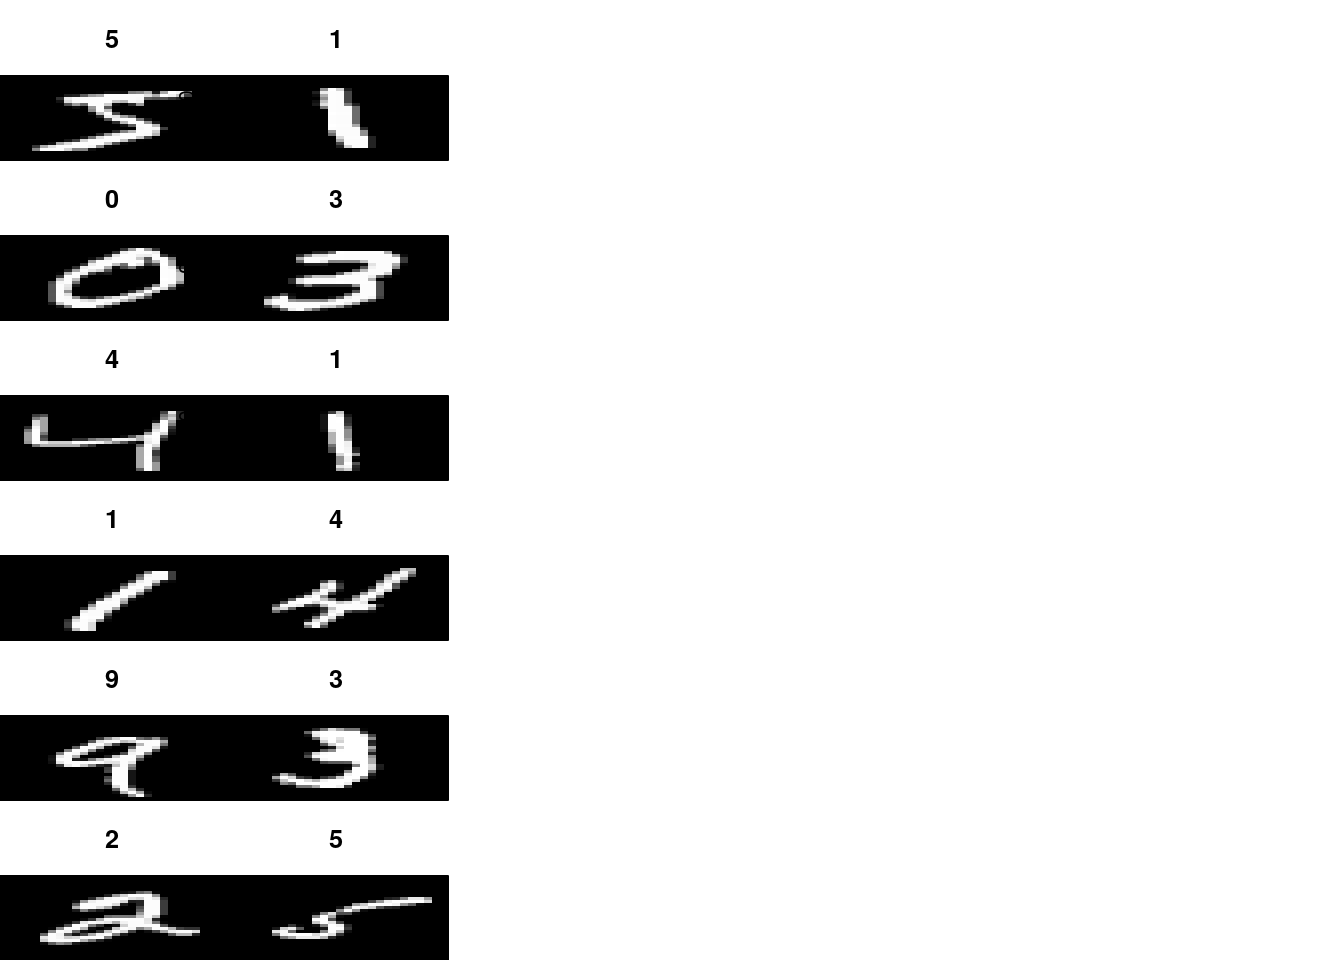
mnist$test$x <- mnist$test$x/255Plot the data.
x_train <- mnist$train$x
y_train <- mnist$train$y

# visualize the digits
par(mfcol=c(6,6))
par(mar=c(0, 0, 3, 0), xaxs='i', yaxs='i')
for (idx in 1:12) {
    im <- x_train[idx,,]
    im <- t(apply(im, 2, rev))
    image(1:28, 1:28, im, col=gray((0:255)/255),
          xaxt='n', main=paste(y_train[idx]))
}
Keras model
model <- keras_model_sequential() %>%
  layer_flatten(input_shape = c(28, 28)) %>%
  layer_dense(units = 128, activation = "relu") %>%
  layer_dropout(0.2) %>%
layer_dense(10, activation = "softmax")summary(model)## Model: "sequential"
## ________________________________________________________________________________
## Layer (type) Output Shape Param #
## ================================================================================
## flatten (Flatten) (None, 784) 0
## ________________________________________________________________________________
## dense_1 (Dense) (None, 128) 100480
## ________________________________________________________________________________
## dropout (Dropout) (None, 128) 0
## ________________________________________________________________________________
## dense (Dense) (None, 10) 1290
## ================================================================================
## Total params: 101,770
## Trainable params: 101,770
## Non-trainable params: 0
## ________________________________________________________________________________It has over 100.000 parameters!!
Python has a nice plot_model() function, in R we can use the deepviz package.
devtools::install_github("andrie/deepviz")library(deepviz)
library(magrittr)
model %>% plot_model()## Warning: `select_()` is deprecated as of dplyr 0.7.0.
## Please use `select()` instead.
## This warning is displayed once every 8 hours.
## Call `lifecycle::last_warnings()` to see where this warning was generated.## Warning: The `x` argument of `as_tibble.matrix()` must have unique column names if `.name_repair` is omitted as of tibble 2.0.0.
## Using compatibility `.name_repair`.
## This warning is displayed once every 8 hours.
## Call `lifecycle::last_warnings()` to see where this warning was generated.Compile the model
model %>%
  compile(
    loss = "sparse_categorical_crossentropy",
    optimizer = "adam",
    metrics = "accuracy"
  )
Fit the model
model %>%
  fit(
    x = mnist$train$x,
    y = mnist$train$y,
    epochs = 5,
    validation_split = 0.3,
    verbose = 1
  )
Make predictions
predictions <- predict(model, mnist$test$x)Visualize a single prediction:
library(ggplot2)

id <- 9

ggplot(data.frame(digit = 0:9, prob = predictions[id,]),
       aes(x = factor(digit), y = prob)) + geom_col() +
  ggtitle(paste0("prediction for true value of ", mnist$test$y[id]))
Check model performance on the test set
model %>%
  evaluate(mnist$test$x, mnist$test$y, verbose = 0)
## loss accuracy
## 0.08686701 0.97399998Our model achieved ~98% accuracy on the test set.
Awesome.
Gertjan Verhoeven
Data Scientist / Policy Advisor
Gertjan Verhoeven is a research scientist currently at the Dutch Healthcare Authority, working on health policy and statistical methods. Follow me on Twitter or Mastodon to receive updates on new blog posts. Statistics posts using R are featured on R-Bloggers.